Quick Start
Getting started with creating your first resume with Resuminator is really easy with only 3 steps! This is a quick start guide for anyone who is new to Resuminator and wants to get started with creating their first resume.
Pre-requisite#
For this you will need a Resuminator account which you can create using Google or Email here
Step 1#
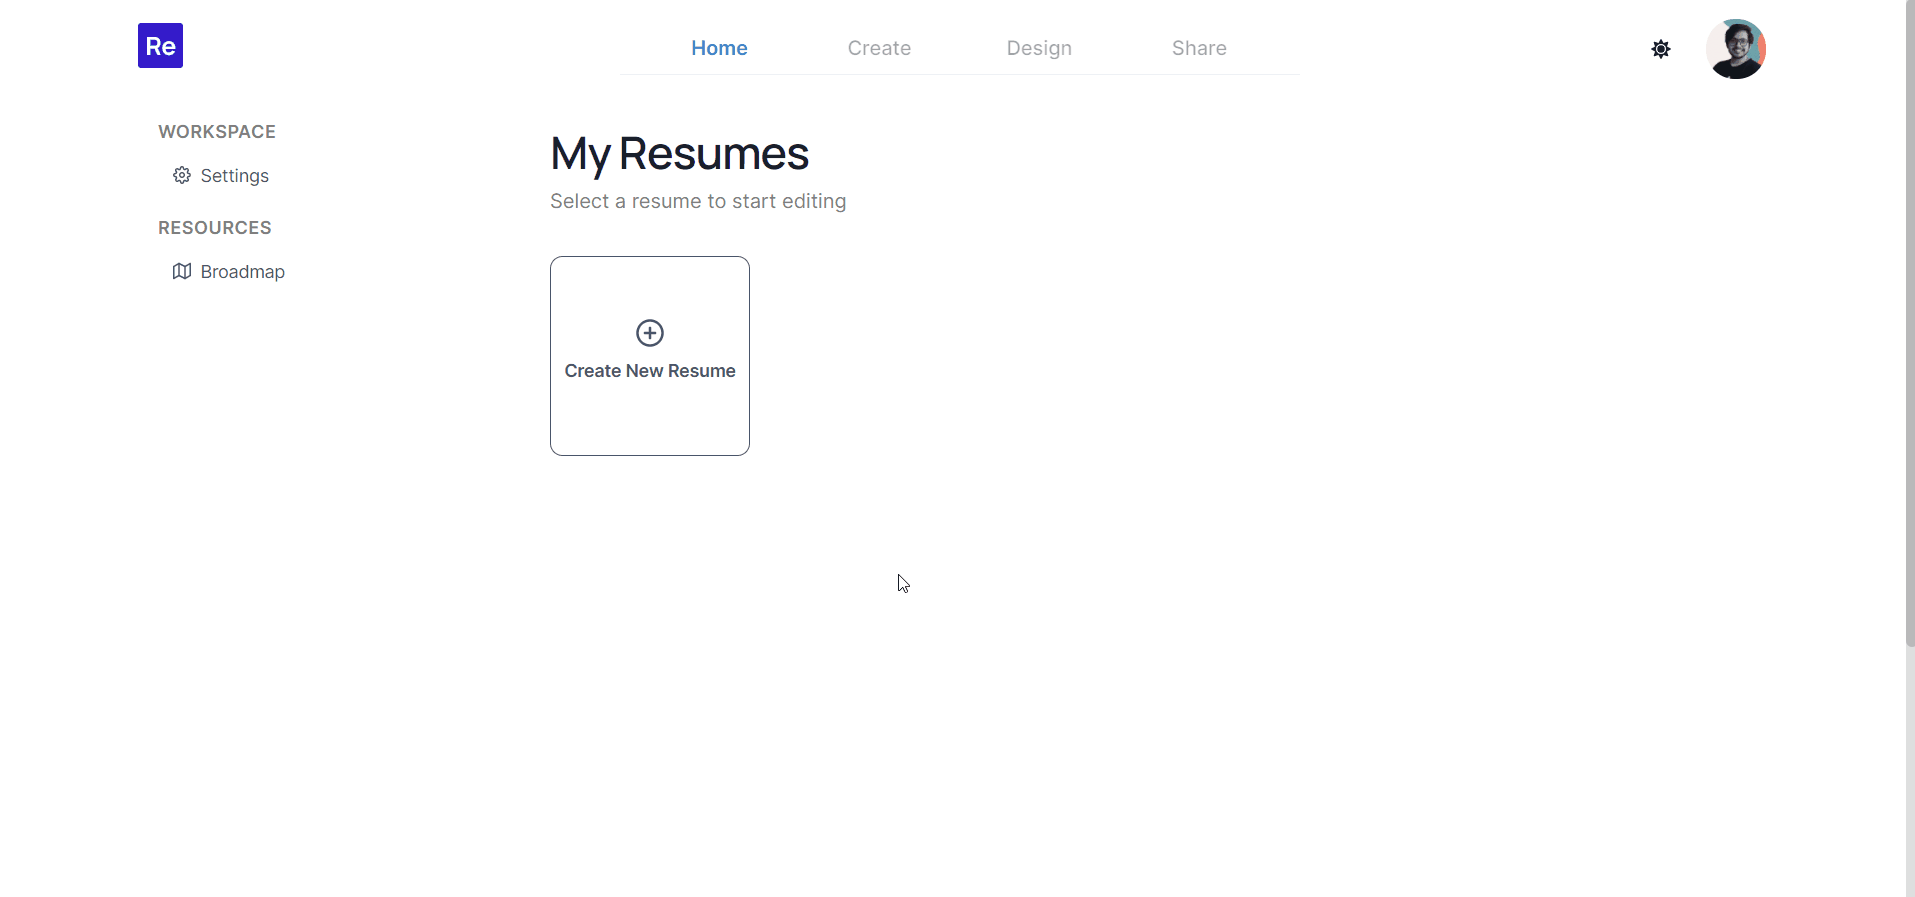
After logging in to Resuminator you will be taken to the Home tab where you will find a card to create a new resume.
- Click on Create New Resume
- Select Start from Scratch. This will create a new blank resume with some default settings.
- Profit! 🎉 Your new resume is ready to be edited!
Step 2#
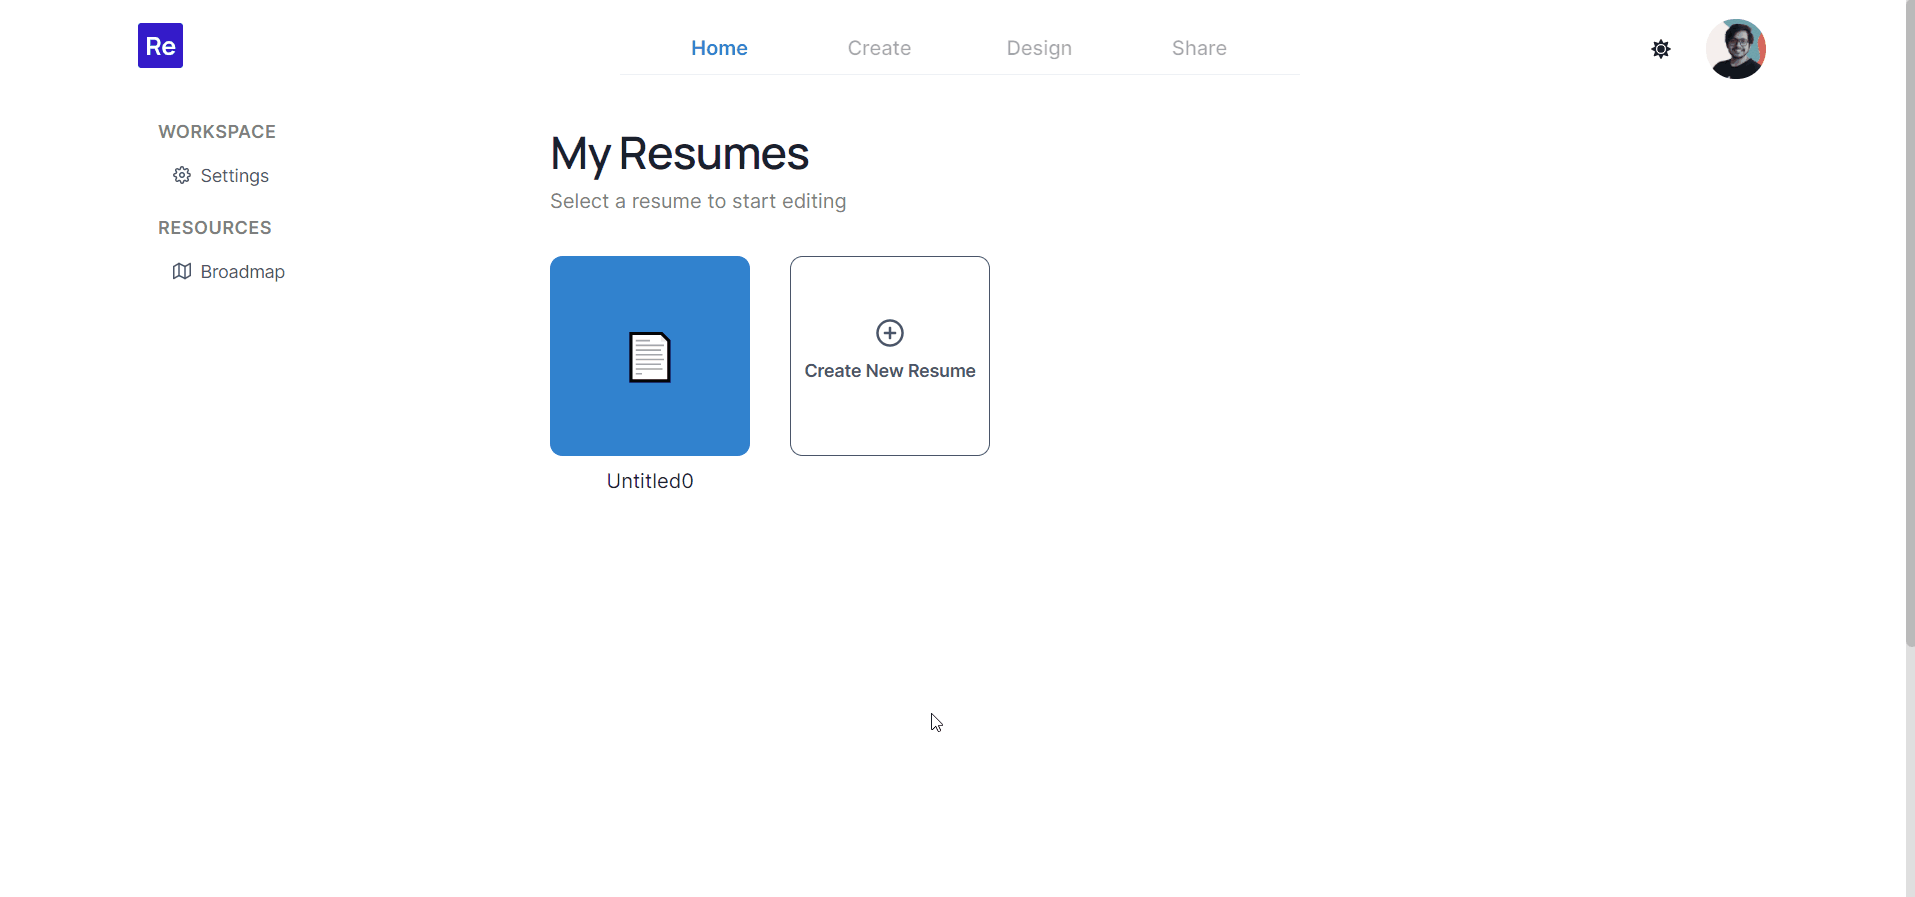
Each resume in Resuminator is created with a default name Untitled<number>
(where number is the index number of the resume on your account, starting with 0) and an icon 📄.
However you can change this to your liking so that you can identify your resumes easily later (and even duplicate them later). To do this you need to
- Click on the resume name (here,
Untitled0) to open the editing popup. - Type in a name and select an icon for this resume.
- Profit! 🎉 Now your resume has a new name and icon.
info
Two confirmation messages appear, confirming that both the changes are saved.
Step 3#
The Create, Design, and Share tab are enabled once you click on any resume. Clicking on a resume sets the context for the application to allow you edit, design and download that resume.
Click on the resume you just created to open the Create tab to start editing your resume!
info
Resuminator autosaves your data!
Continue reading about the Create section on the next page.